Understanding what to expect during a home remodel can make the experience less stressful and help you prepare for the disruption that comes with construction. Even a well-planned renovation can involve noise, dust, utility interruptions, material delays, inspections, and unexpected decisions.
A home remodel usually moves through several stages, including site preparation, demolition, structural work, rough plumbing and electrical work, insulation, drywall, flooring, cabinets, finish installation, inspections, and a final walkthrough.
The exact experience depends on the size of the project and whether you remain in the house during construction. A single-room cosmetic update may cause limited inconvenience, while a major renovation can affect how you cook, sleep, work, and move through the property.
This guide explains what homeowners can expect from the beginning of construction through project completion.
If you have not yet created a detailed project plan, read our guide on how to plan a home remodel before construction begins. Careful preparation can reduce confusion once workers and materials start arriving.
What Happens During a Home Remodel?
Although every renovation is different, most projects follow a recognizable sequence. Some stages may overlap, while others must be completed before the next phase can begin.
| Remodeling stage | What homeowners may experience | Decisions or actions required |
|---|---|---|
| Site preparation | Furniture removal, floor coverings, dust barriers, and deliveries | Clear the work area and confirm access |
| Demolition | Noise, vibration, dust, debris, and possible discoveries | Review concealed damage and necessary changes |
| Structural work | Framing, temporary supports, and layout changes | Confirm dimensions and approved plans |
| Rough mechanical work | Plumbing, electrical, HVAC, and utility interruptions | Approve fixture and equipment locations |
| Inspections | Pauses while completed work is reviewed | Allow access and track required corrections |
| Insulation and drywall | Reduced noise followed by significant drywall dust | Confirm walls are ready to be closed |
| Cabinets and finishes | Visible progress and detailed installation decisions | Check product placement and dimensions |
| Fixtures and appliances | Plumbing, lighting, hardware, and equipment installation | Test functionality and review workmanship |
| Final walkthrough | Inspection of completed and incomplete items | Prepare a written punch list |
| Project closeout | Cleaning, final documents, and warranty information | Collect records and confirm permit closure |
Understanding these stages can help homeowners recognize that periods of slower visible progress do not necessarily mean work has stopped. Some important tasks take place inside walls or involve waiting for inspections, curing, drying, fabrication, or material delivery.
Preparing for Construction to Begin
Before workers arrive, the contractor should confirm the project scope, expected schedule, working hours, access arrangements, and site rules.
Homeowners should remove furniture, decorations, electronics, fragile objects, valuables, and personal belongings from the work area. Items left nearby should be protected from dust and accidental damage.
Site preparation may include:
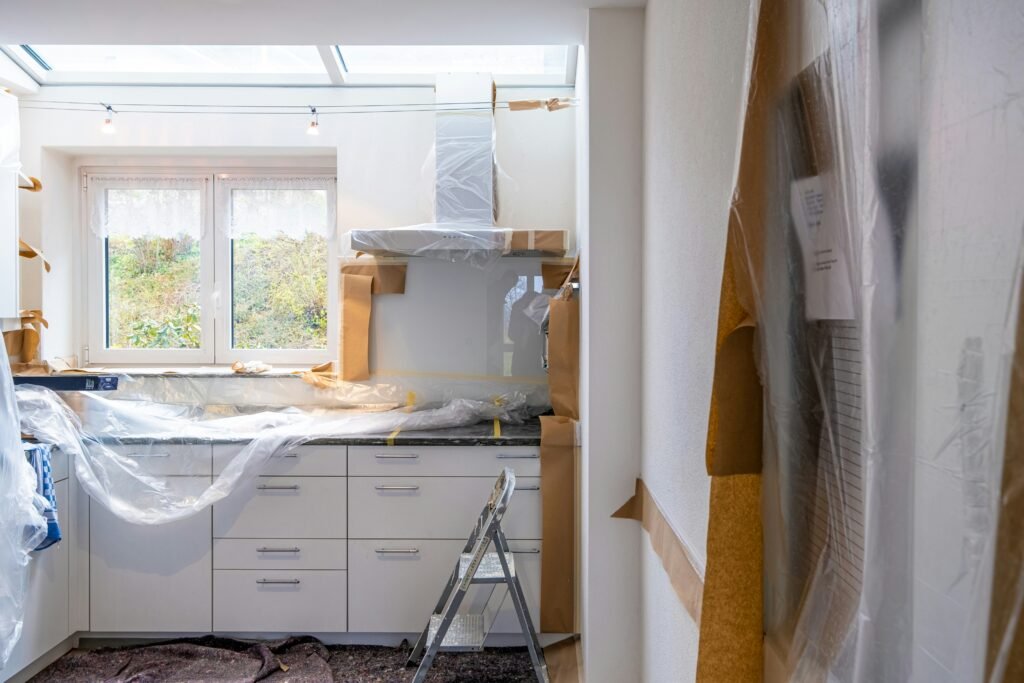
- Installing temporary dust barriers
- Covering floors and stairs
- Protecting doors and walls
- Setting up ventilation or air-control equipment
- Identifying worker entrances
- Establishing storage areas
- Positioning waste containers
- Arranging portable restroom facilities
- Marking areas that workers should not enter
Take photographs of the rooms, hallways, floors, exterior access routes, landscaping, and other nearby areas before work begins. This creates a record of the property’s original condition.
You should also decide how workers will enter if you are not home. Avoid leaving keys in an unsecured location. Discuss secure access methods and determine who is responsible for locking the property at the end of each day.
Expect Noise, Dust, and Regular Disruption
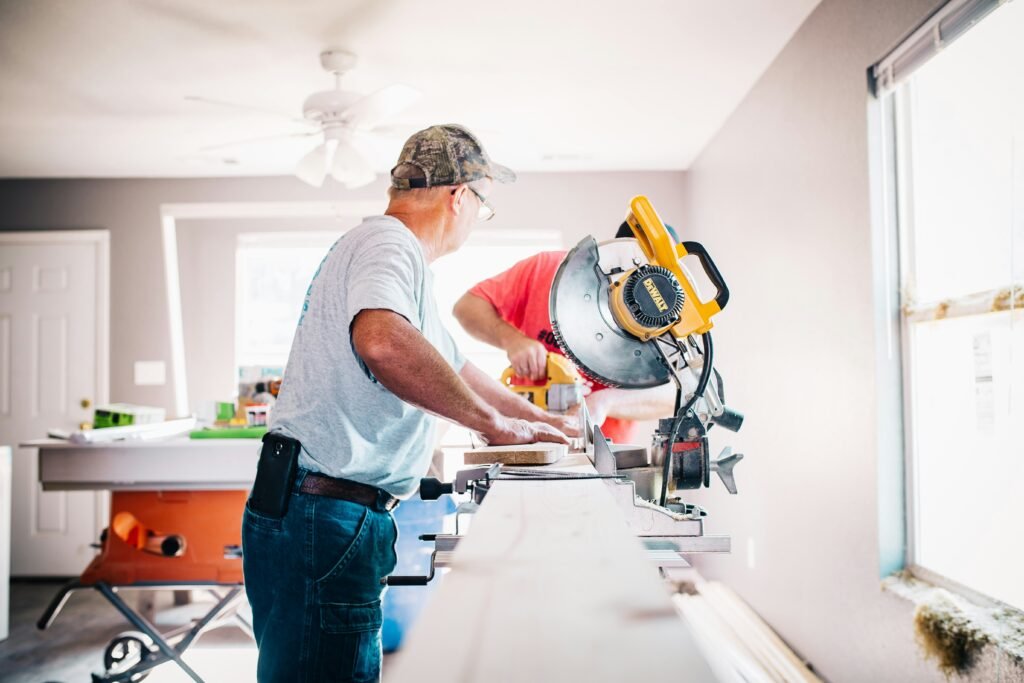
Construction is noisy. Demolition, drilling, cutting, sanding, fastening, and material movement may continue for significant portions of the workday.
Dust can also travel beyond the immediate construction area. Barriers, floor protection, and air-control methods can reduce the spread, but they may not eliminate it entirely.
Homeowners remaining in the property should expect:
- Earlier mornings than usual
- Limited privacy
- Workers moving through designated areas
- Temporary loss of access to certain rooms
- Construction vehicles near the property
- Materials stored inside or outside
- Periodic water or electricity interruptions
- Changes to parking and entry routes
- Daily cleanup that may not remove all fine dust
Household members who work from home may need an alternative workspace during louder phases. Children and pets should remain separated from construction areas, tools, materials, debris, and temporary openings.
Demolition Is Often the Most Disruptive Stage
Demolition is usually one of the loudest, dustiest, and most visually dramatic parts of a remodel.
Workers may remove cabinets, drywall, flooring, fixtures, appliances, nonstructural walls, or parts of the home’s existing mechanical systems. Debris may be carried through the property or removed through a temporary exterior access point.
The space can look worse before it begins to improve. Exposed framing, wiring, pipes, and unfinished surfaces are normal during this stage.
Demolition may also reveal hidden conditions, including:
- Water-damaged framing
- Mold or moisture
- Rotted subflooring
- Plumbing leaks
- Unsafe or outdated wiring
- Pest damage
- Missing insulation
- Structural problems
- Improper previous work
These discoveries may require additional evaluation and repairs before the planned renovation can continue.
Our guide to hidden home remodeling costs explains how concealed damage, permit fees, material delivery, and other overlooked expenses can affect the budget.
Older Homes May Require Additional Safety Measures
Renovations in older properties may require testing or special work practices for hazardous materials.
Homes built before 1978 are more likely to contain lead-based paint. Demolition, sanding, cutting, and other activities can disturb painted surfaces and create hazardous dust.
The Environmental Protection Agency provides lead-safe renovation guidance for homeowners. Covered work in pre-1978 housing may also be subject to the EPA’s Renovation, Repair and Painting requirements.
Other older building materials may contain asbestos. Suspected lead, asbestos, mold, or other hazardous materials should be evaluated before ordinary demolition proceeds.
Hazardous-material testing and removal can affect both the schedule and budget, but safety procedures should not be skipped simply to keep the project moving.
Structural Work Changes the Shape of the Space
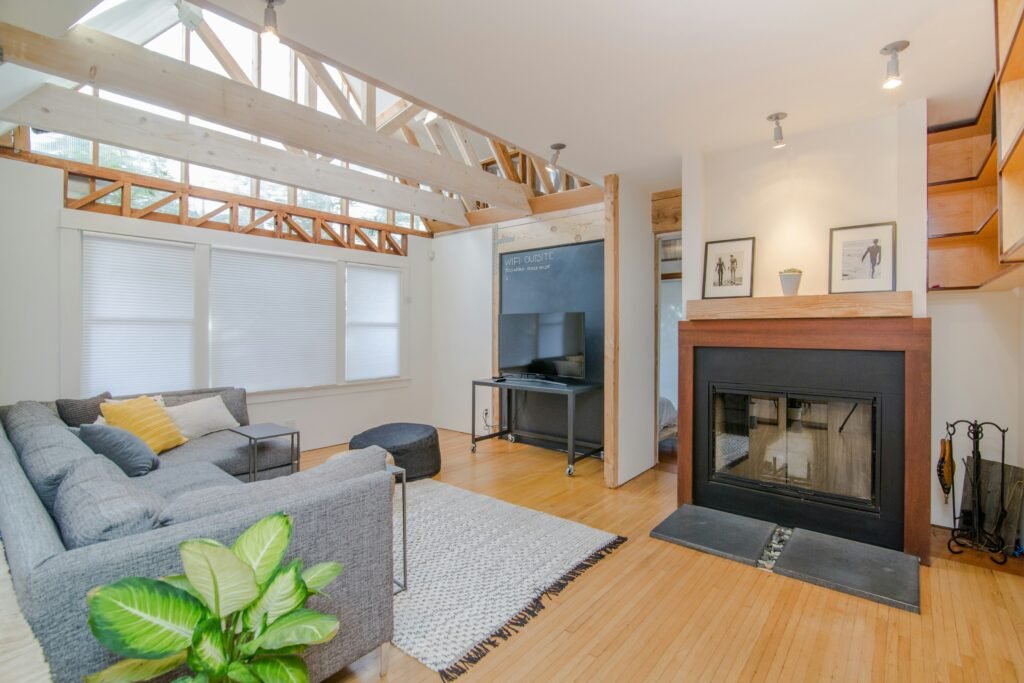
After demolition, framing and structural work can begin. This is when new walls, openings, beams, supports, additions, or repaired structural components take shape.
During this stage, the remodeled layout becomes easier to understand. However, rooms may appear smaller or larger than expected when only framing is visible.
Structural work may include:
- Repairing damaged framing
- Building new walls
- Modifying load-bearing walls
- Installing beams or posts
- Repairing subfloors
- Creating window or door openings
- Framing additions
- Correcting structural problems discovered during demolition
Check important dimensions before the project advances. Confirm door locations, cabinet openings, appliance spaces, walking paths, and other layout details.
Changes become more expensive after plumbing, wiring, drywall, and finishes have been installed.
Rough Plumbing, Electrical, and HVAC Work May Look Slow
Rough mechanical work includes the pipes, wires, ducts, vents, boxes, and connections installed inside walls, floors, and ceilings.
This stage may not create the visible transformation homeowners expect, but it is critical to the finished home.
Plumbing work may involve relocating supply lines, drains, and vents. Electrical work may include new circuits, lighting locations, outlets, switches, appliance connections, or panel changes. HVAC work can involve ducts, exhaust systems, equipment lines, and airflow adjustments.
Utility interruptions may occur during this phase. The contractor should provide advance notice when possible, especially if water, electricity, heating, or cooling will be unavailable.
Confirm the locations of:
- Electrical outlets
- Light switches
- Wall-mounted fixtures
- Plumbing fixtures
- Appliance connections
- Thermostats
- Exhaust fans
- Data or communication outlets
Walk through the space before walls are closed. It is easier to correct a misplaced outlet or plumbing connection while the framing remains exposed.
Inspections Can Temporarily Pause Progress
Permitted projects may require inspections at several points. Framing, plumbing, electrical, mechanical, insulation, and final work may each need approval.
Inspectors often need to see concealed components before drywall covers them. If corrections are required, the appropriate work must be completed and may need to be inspected again.
Inspection timing can affect the schedule. A delay does not necessarily mean the contractor has abandoned the project; work may be waiting for approval before it can legally or safely continue.
Permit and inspection requirements vary by jurisdiction. Homeowners can use the USAGov local government directory to locate their city or county government website.
Ask the contractor:
- Which inspections are required?
- Who will schedule them?
- Has each inspection been approved?
- Were any corrections requested?
- How will corrections affect the schedule?
- Who will confirm that the permits are closed?
Keep copies of inspection records and final permit approvals with your property documents.
Insulation and Air Sealing Happen Before Walls Close
After rough mechanical work and required inspections, insulation and air sealing may be completed.
This is an important opportunity to address exterior walls, attics, floors above unconditioned areas, rim joists, and openings around pipes or wiring.
ENERGY STAR provides neutral information about home insulation and air sealing. The appropriate approach depends on the climate, wall construction, ventilation, moisture conditions, and applicable building requirements.
After insulation is installed, the walls and ceilings can be closed. Take photographs of plumbing, wiring, framing, and other concealed components before drywall is installed. These images may be useful when mounting fixtures or planning future work.
Drywall Creates a Major Visual Change
Once drywall is installed, the remodeled rooms begin to feel enclosed and recognizable.
The drywall process usually includes hanging panels, applying tape and joint compound, allowing the compound to dry, sanding, correcting imperfections, and priming the surfaces.
This stage can produce a large amount of fine dust. Even with barriers and cleanup, dust may reach adjacent rooms.
Drying time is important. Joint compound, primer, paint, adhesives, grout, concrete, and other materials may require specific curing or drying periods. Trying to accelerate the schedule can affect the quality of the finished work.
After drywall is complete, homeowners can more accurately judge room proportions, lighting placement, door locations, and traffic flow.
Cabinets and Built-Ins Make the Design Feel Real
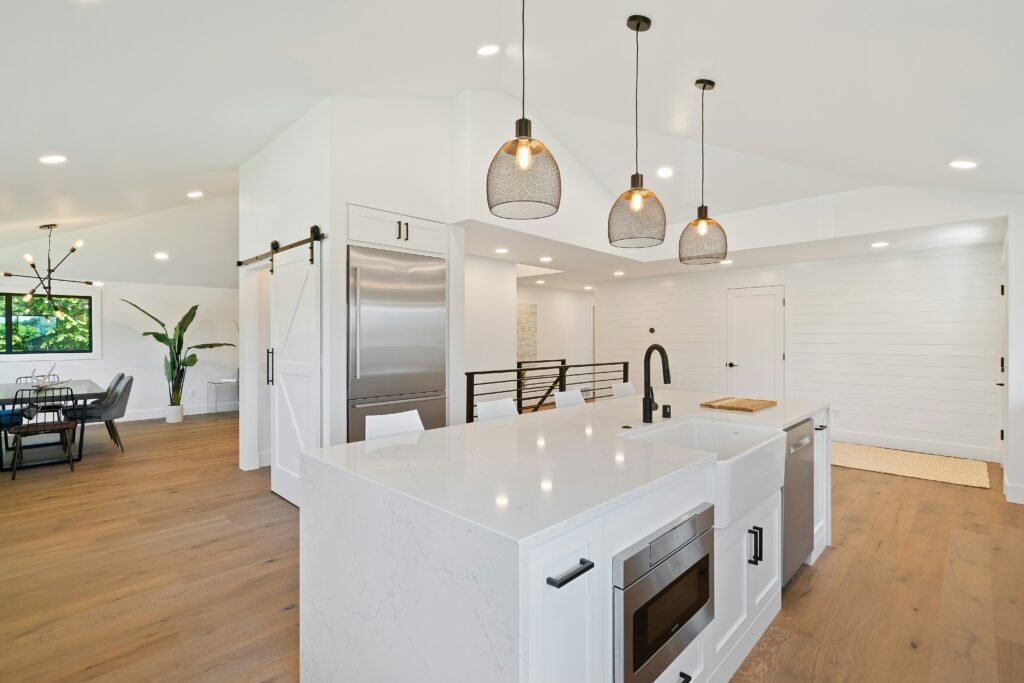
Cabinet and built-in installation is often one of the most satisfying stages because the finished layout becomes visible.
Kitchen cabinets, bathroom vanities, shelving, benches, and other permanent storage must be installed accurately. Countertops may be measured only after base cabinets are secured and leveled.
Before countertop measurements or final installation, verify:
- Cabinet locations
- Appliance openings
- Sink placement
- Door and drawer clearances
- Walking space
- Hardware selections
- Electrical and plumbing alignment
- Wall and cabinet dimensions
If a measurement or layout problem exists, addressing it now may prevent complications with countertops, tile, appliances, and plumbing fixtures.
Flooring Installation Requires Protection
Finished flooring may be installed before or after cabinets, depending on the flooring material, cabinet design, and manufacturer’s instructions.
Regardless of the sequence, newly installed flooring should be protected from tools, ladders, paint, debris, and heavy construction traffic.
Some flooring materials need time to acclimate to the home’s indoor conditions before installation. Adhesives, finishes, or grout may also need time to cure before people can walk on the surface or move heavy items into the room.
Homeowners should ask:
- When will the flooring arrive?
- Does it require acclimation?
- Who will inspect the materials for damage?
- How much extra material was ordered?
- How will the finished floor be protected?
- Should spare flooring be retained for future repairs?
Do not discard leftover labeled materials without confirming whether they may be useful later.
Finish Work Requires Many Small Decisions
The finish stage includes the visible details that make the home usable and complete.
Workers may install:
- Interior doors
- Baseboards and trim
- Plumbing fixtures
- Light fixtures
- Switch and outlet covers
- Appliances
- Cabinet hardware
- Mirrors
- Shower enclosures
- Backsplashes
- Vent covers
- Shelving
- Final paint coats
Progress can appear slower during this phase because small details require precise work. A room may look nearly complete while several days of adjustments, sealing, touch-ups, and testing remain.
Avoid moving furniture or personal belongings into the space before contractors confirm that the work is ready.
Expect Some Schedule Changes
A remodeling schedule is an informed forecast, not a guarantee that every task will happen on an exact date.
Possible causes of delays include:
- Hidden damage
- Permit review
- Inspection availability
- Material shortages
- Damaged deliveries
- Product backorders
- Weather
- Design changes
- Subcontractor availability
- Additional drying or curing time
- Corrections required after inspection
Ask the contractor to distinguish between the original completion target and the current projected date. Regular updates can help homeowners adjust temporary housing, deliveries, work arrangements, and household plans.
A delay does not automatically indicate poor management. The important questions are why it occurred, what is being done, and how the remaining schedule will change.
Change Orders Can Affect Cost and Timing
A change order modifies the original construction agreement. It may result from concealed damage, permit requirements, unavailable materials, design changes, or additional work requested by the homeowner.
Every significant change should be documented in writing before the work proceeds.
A useful change order should state:
- What is changing
- Why the change is needed
- The added or reduced cost
- Any material substitutions
- The effect on the schedule
- Whether other trades will be affected
Avoid making informal requests directly to individual workers. Communicate changes through the designated project contact so their cost and effect can be evaluated.
Frequent changes can create delays because they may require revised drawings, new materials, reordered work, or additional inspections.
Communication Should Follow a Consistent Process
Before construction starts, decide how project communication will be handled.
Identify one primary contact for the homeowner and one for the remodeling team. Agree on how often updates will occur and whether urgent questions will be handled by phone, email, text, or a project-management system.
Regular updates may cover:
- Work completed
- Work planned next
- Upcoming inspections
- Required homeowner decisions
- Material deliveries
- Change orders
- Budget status
- Schedule changes
- Problems requiring attention
Keep important decisions in writing. Written communication reduces misunderstandings and provides a record of product selections, approvals, prices, and schedule adjustments.
Living at Home During a Remodel Can Be Difficult
Remaining in the house can reduce temporary housing costs, but it may also increase stress and slow some types of work.
Consider whether your household can safely function without access to the affected rooms. A kitchen remodel may require a temporary food-preparation area. A bathroom renovation requires another usable bathroom. A whole-house project may involve periods without reliable water, electricity, heating, or cooling.
Plan for:
- Temporary cooking
- Additional meal expenses
- Laundry access
- Safe sleeping areas
- Pet care
- Child safety
- Remote-work needs
- Medication and essential-item storage
- Temporary entrances
- Utility interruptions
Do not enter active construction zones without permission. Exposed wiring, sharp materials, unstable surfaces, tools, and temporary openings may create hazards.
The Final Walkthrough Is More Than a Visual Inspection
Near the end of the project, conduct a detailed walkthrough with the contractor.
The purpose is to identify incomplete, damaged, missing, or incorrectly installed items. These observations become a punch list.
Inspect and test:
- Doors and drawers
- Locks and handles
- Faucets and drains
- Toilets
- Showers and bathtubs
- Lights and switches
- Electrical outlets
- Appliances
- Exhaust fans
- Heating and cooling controls
- Windows
- Flooring
- Tile and grout
- Cabinets
- Countertops
- Paint and trim
Open doors and drawers rather than simply looking at them. Run water, test appliances, turn on lights, and examine surfaces under different lighting conditions.
Document punch-list items in writing and, when useful, with photographs. Agree on who will correct each item and when the work will be completed.
Collect Documents Before Closing the Project
Before making the final payment, collect the documents connected with the renovation.
These may include:
- Final invoices
- Approved change orders
- Permit records
- Inspection approvals
- Product warranties
- Contractor warranties
- Appliance manuals
- Paint colors and product names
- Flooring and tile information
- Care instructions
- Photographs of concealed work
- Lien-related documents required in your jurisdiction
Confirm that required permits have been closed. Do not assume a final inspection has occurred simply because construction appears complete.
Store these documents together. They may be useful for warranty claims, maintenance, future remodeling, refinancing, or selling the home.
Final Cleaning May Be a Separate Service
Construction cleanup and detailed household cleaning are not always the same.
The contractor may remove debris and sweep the work area without cleaning windows, cabinets, floors, vents, or nearby rooms.
Clarify whether the agreement includes:
- Debris removal
- Floor cleaning
- Cabinet and drawer cleaning
- Window cleaning
- Label and packaging removal
- HVAC filter replacement
- Exterior cleanup
- Cleaning adjoining rooms
Fine dust may remain after construction is complete. Replace or inspect HVAC filters as appropriate and follow professional guidance if the project involved hazardous materials.
Frequently Asked Questions
What is the hardest part of living through a home remodel?
Many homeowners find the loss of routine most difficult. Noise, dust, workers entering the property, limited access to rooms, and uncertain schedules can affect everyday life. Planning temporary spaces and maintaining regular communication can reduce some disruption.
How long does a home remodel take?
The timeline depends on the project’s scope, permit requirements, material availability, inspections, and hidden conditions. A cosmetic room update may take weeks, while a major whole-house renovation can require several months or longer.
Can you stay in your house during remodeling?
It depends on the affected rooms and whether the home can remain safe and functional. Projects involving essential bathrooms, kitchens, extensive demolition, hazardous materials, or prolonged utility interruptions may require temporary housing.
Why does remodeling progress sometimes appear to stop?
Work may be waiting for an inspection, material delivery, design decision, curing period, or fabrication. Some important progress also occurs inside walls and may not be visually dramatic.
What happens if contractors find damage during demolition?
The affected work may pause while the condition is evaluated. The contractor should document the problem and provide a written change order if additional repairs will change the price or schedule.
What should be checked during the final walkthrough?
Test doors, drawers, plumbing fixtures, lights, outlets, appliances, ventilation, windows, and controls. Inspect flooring, cabinets, countertops, tile, paint, trim, caulking, and other visible finishes.
Should you make the final payment before punch-list work is finished?
Payment obligations depend on the contract and applicable local requirements. Review the agreement carefully and obtain professional advice if you are uncertain about payment, retainage, liens, or unresolved work.
A Remodel Is a Process, Not a Single Event
A home remodel moves through a series of connected stages. Some days bring dramatic changes, while others involve inspections, technical work, drying time, or detailed adjustments.
Homeowners who understand the process are better prepared to ask questions, make timely decisions, and recognize when schedule changes are reasonable.
Establish clear communication, document changes, protect your contingency budget, and remain involved through the final walkthrough and project closeout. These steps can make the remodeling experience more manageable and help ensure that important details are not overlooked.
Remodeling Note: Every home and remodeling project has different structural, financial, permitting, scheduling, and safety considerations. Building codes, inspection requirements, and appropriate construction methods also vary by location. Before beginning a major renovation, speak with a qualified remodeling professional who can evaluate your property, explain what to expect during each stage, and help you develop a plan suited to your home, goals, and budget.